Please note: This blog post contains affiliate links, which help pay for the upkeep of this site. That being said, I will never, ever promote anything I am not 100% in love with!
----------
Découpage dates back as far as the 12th Century, but really made a comeback in the '90s.
Remember all those boxes and chairs covered in angels, antique roses, and butterflies? Well the '90s can keep all that, I'm here to show you a modern twist on this old technique.
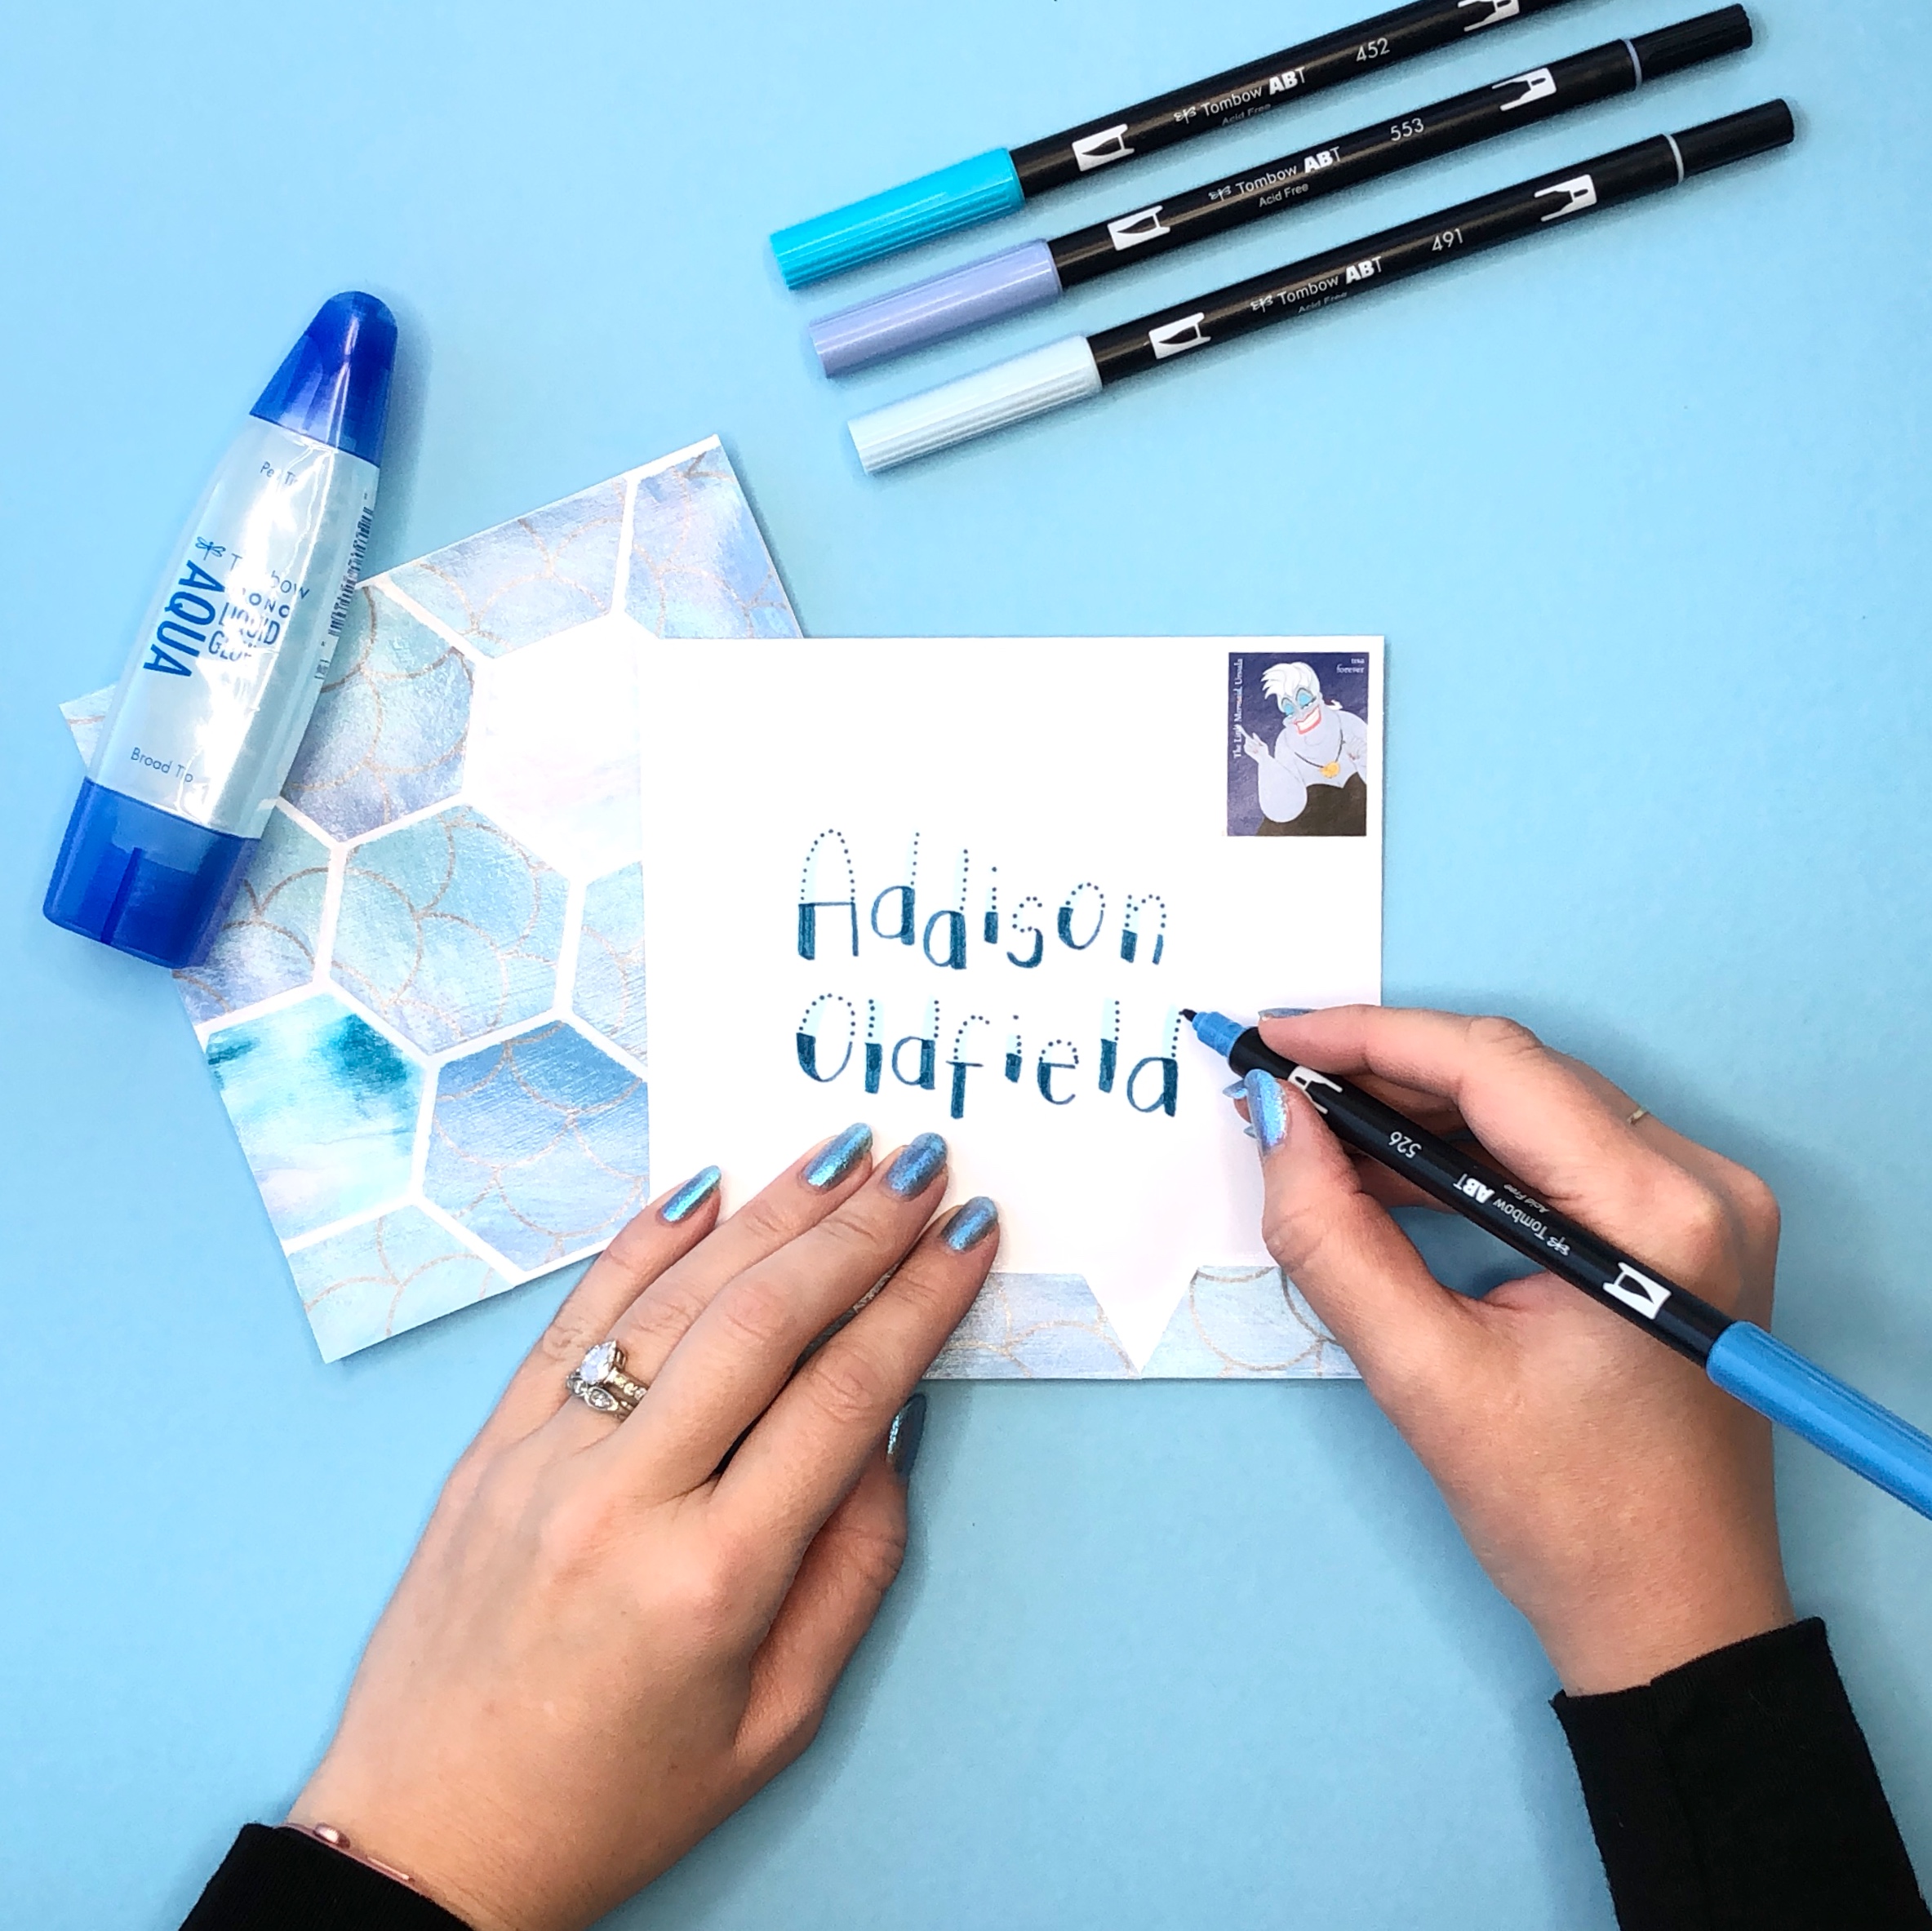
You'll need some paper (thin gift wrap, tissue paper, or even marker paper works well), scissors or a shape punch, Tombow MONO Aqua Liquid Glue, an old paintbrush, some Tombow Dual Brush Pens (if you want to color some of your own paper), and something you want to decorate (a card, gift box, notebook cover etc. - today I'm making some cards).
First, cut or punch out your shapes (hexagons or triangles work well) from your gift wrap or paper you've decorated yourself and arrange them on the object you're going to decorate. Once you're happy with the layout, start gluing the paper down with your Tombow MONO Aqua Liquid Glue.
The last step is to cover your whole design with Tombow MONO Aqua Liquid Glue and smooth it out with a paintbrush. Let everything dry and then, if you need to, trim any paper that is overhanging the edges, and you're finished!
If you make some découpage projects of your own I'd love to see them! Tag @BrownPaperBunny on social media!


