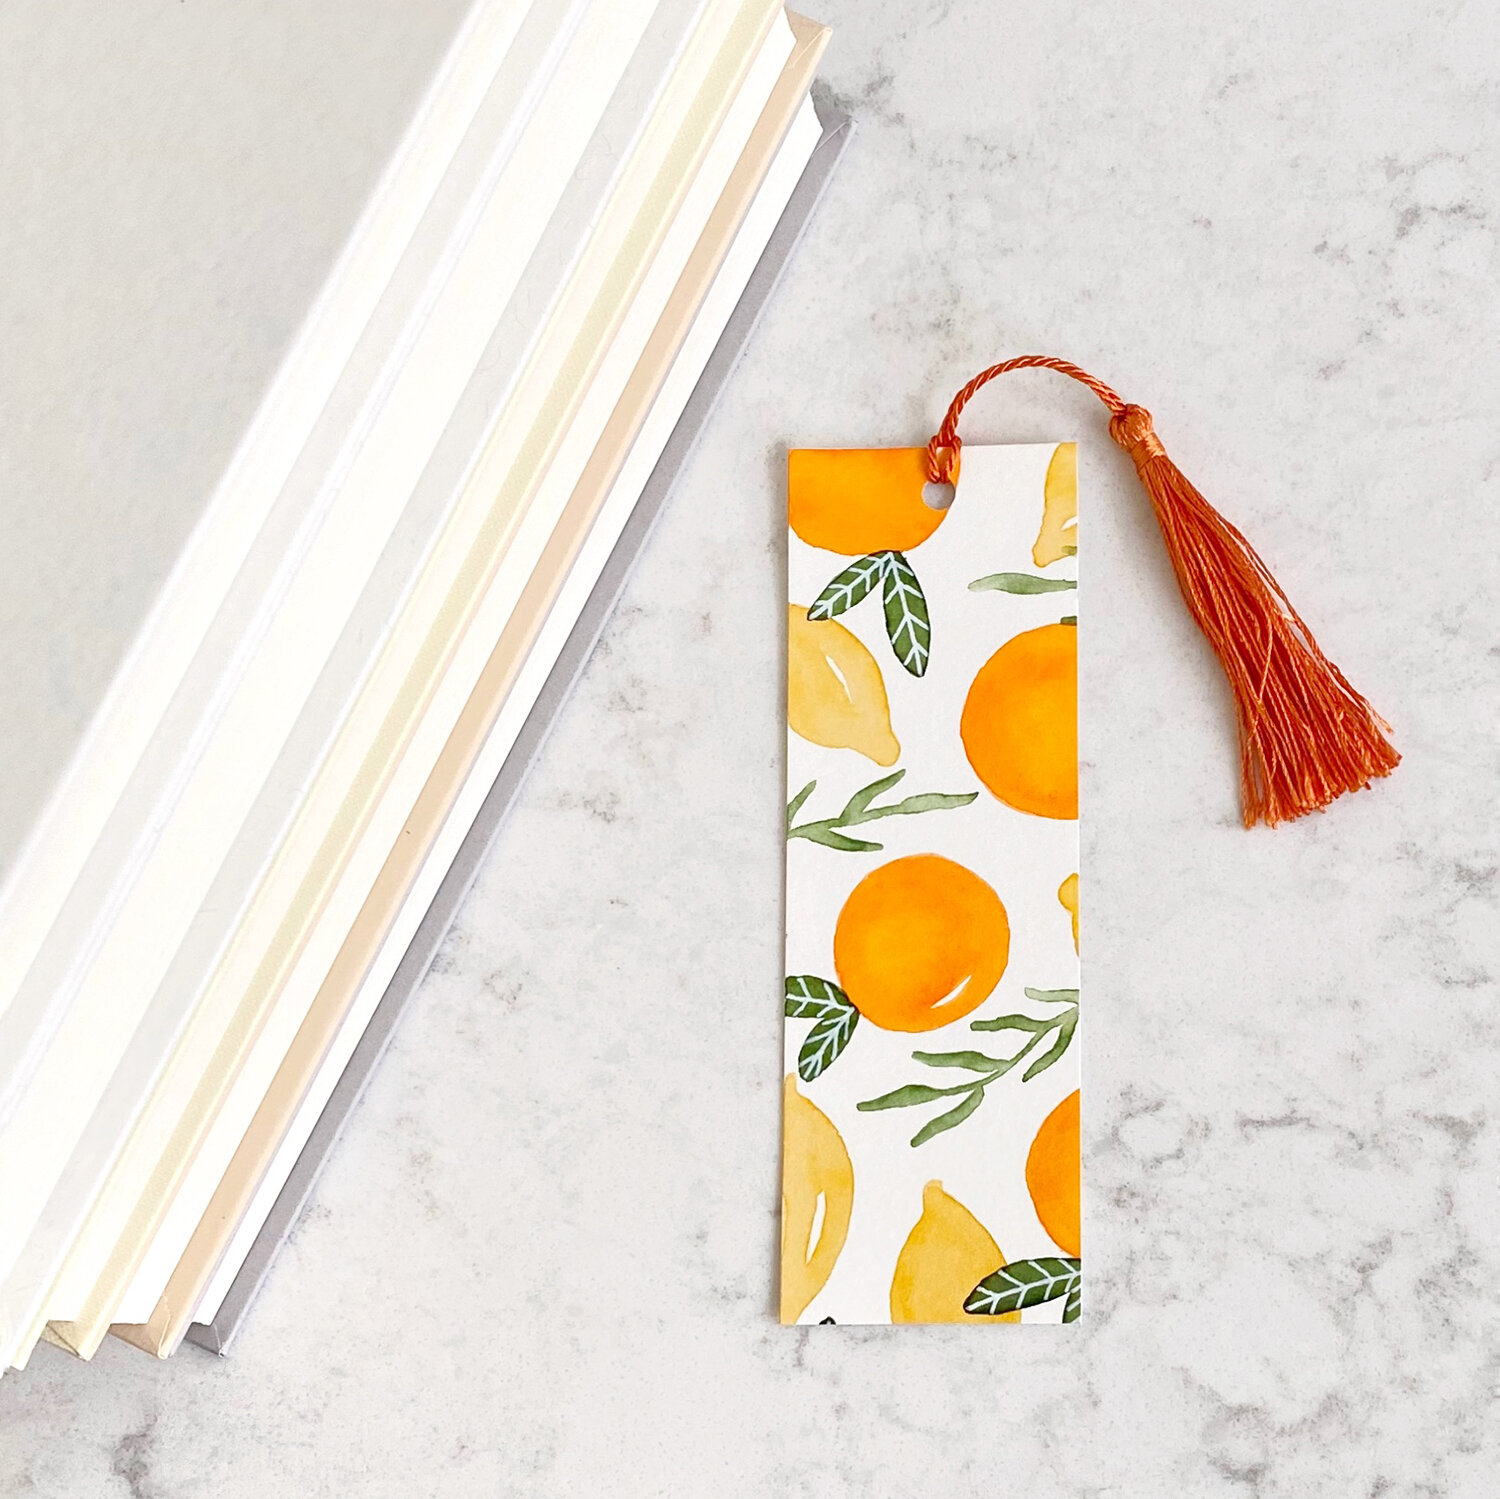
Today I want to show you how to make your own watercolor bookmarks. They make super cute gifts, especially when paired with a new book! Here's what you'll need to get started:
Supplies:
Scissors
Hole Punch (optional)
Tassel (optional)
White Gel Pen (optional)
Step 1: Draw Your Shapes
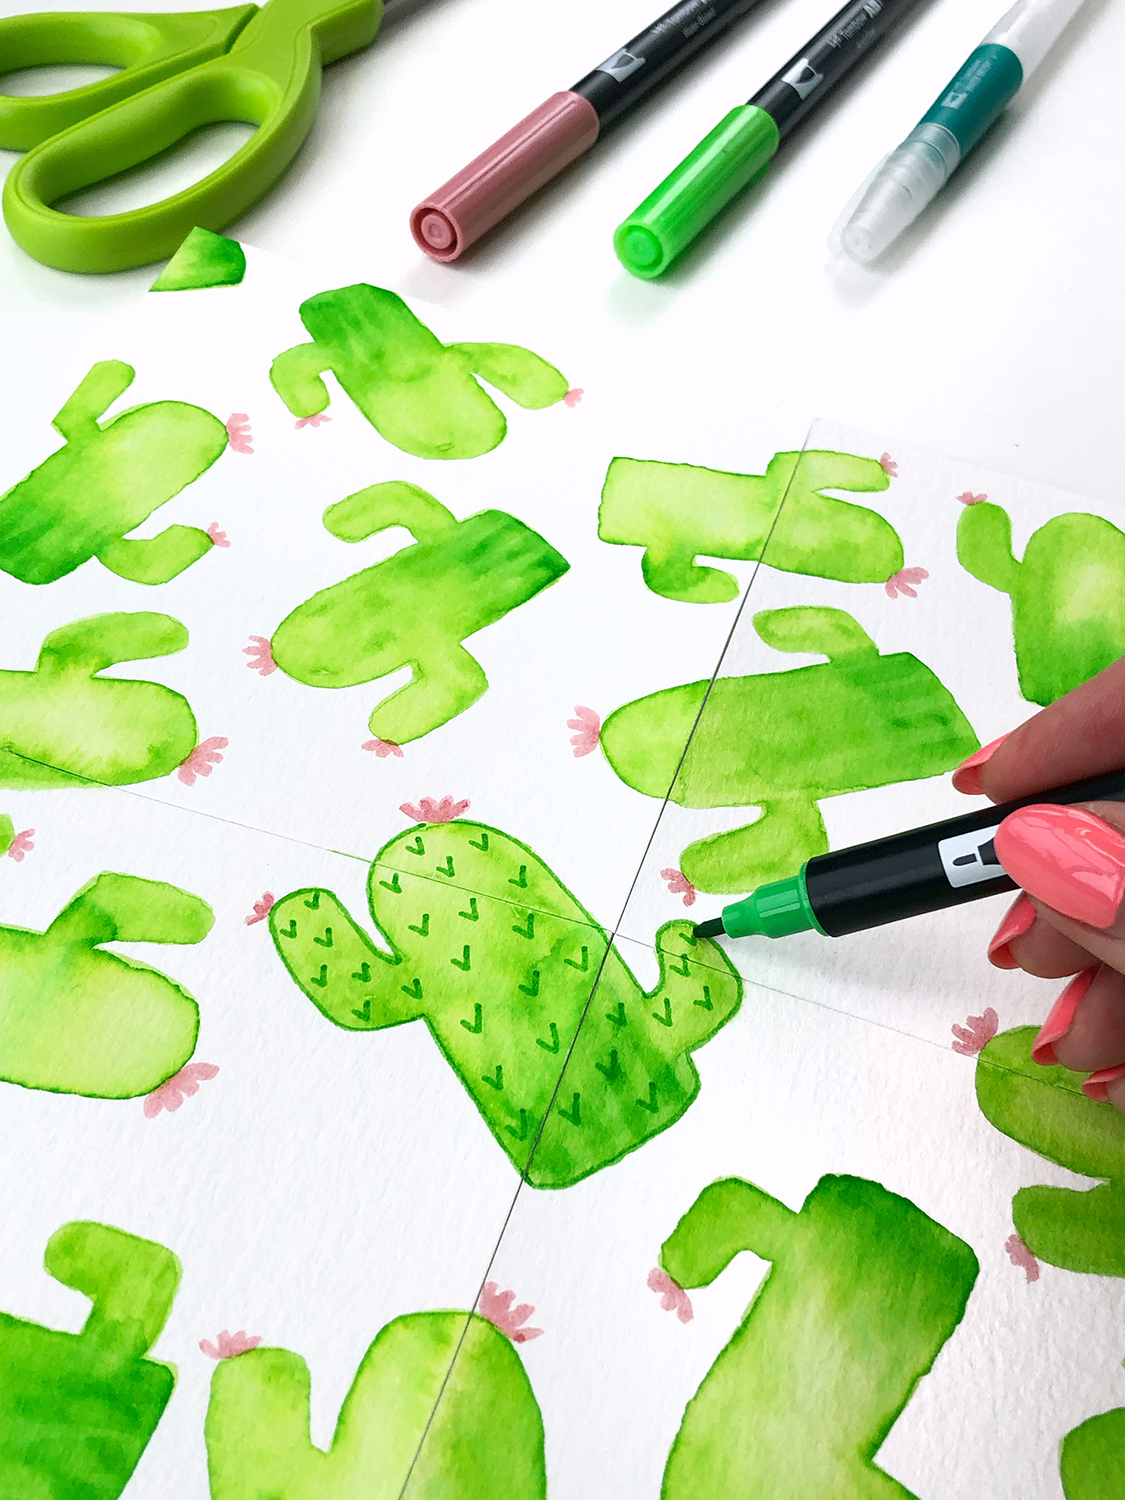
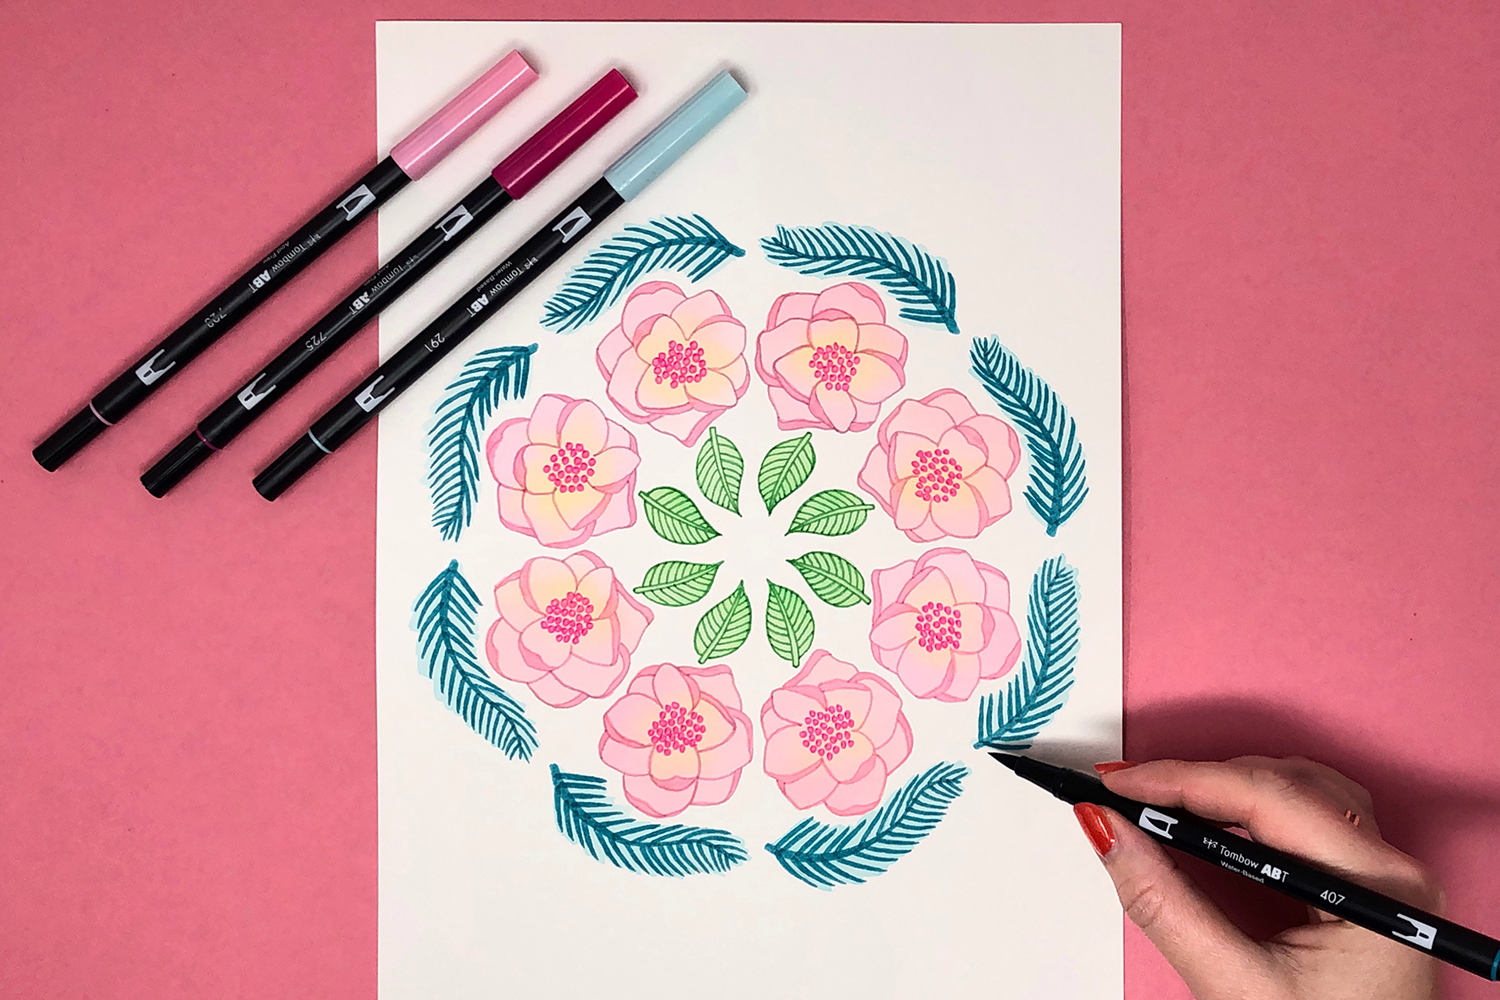
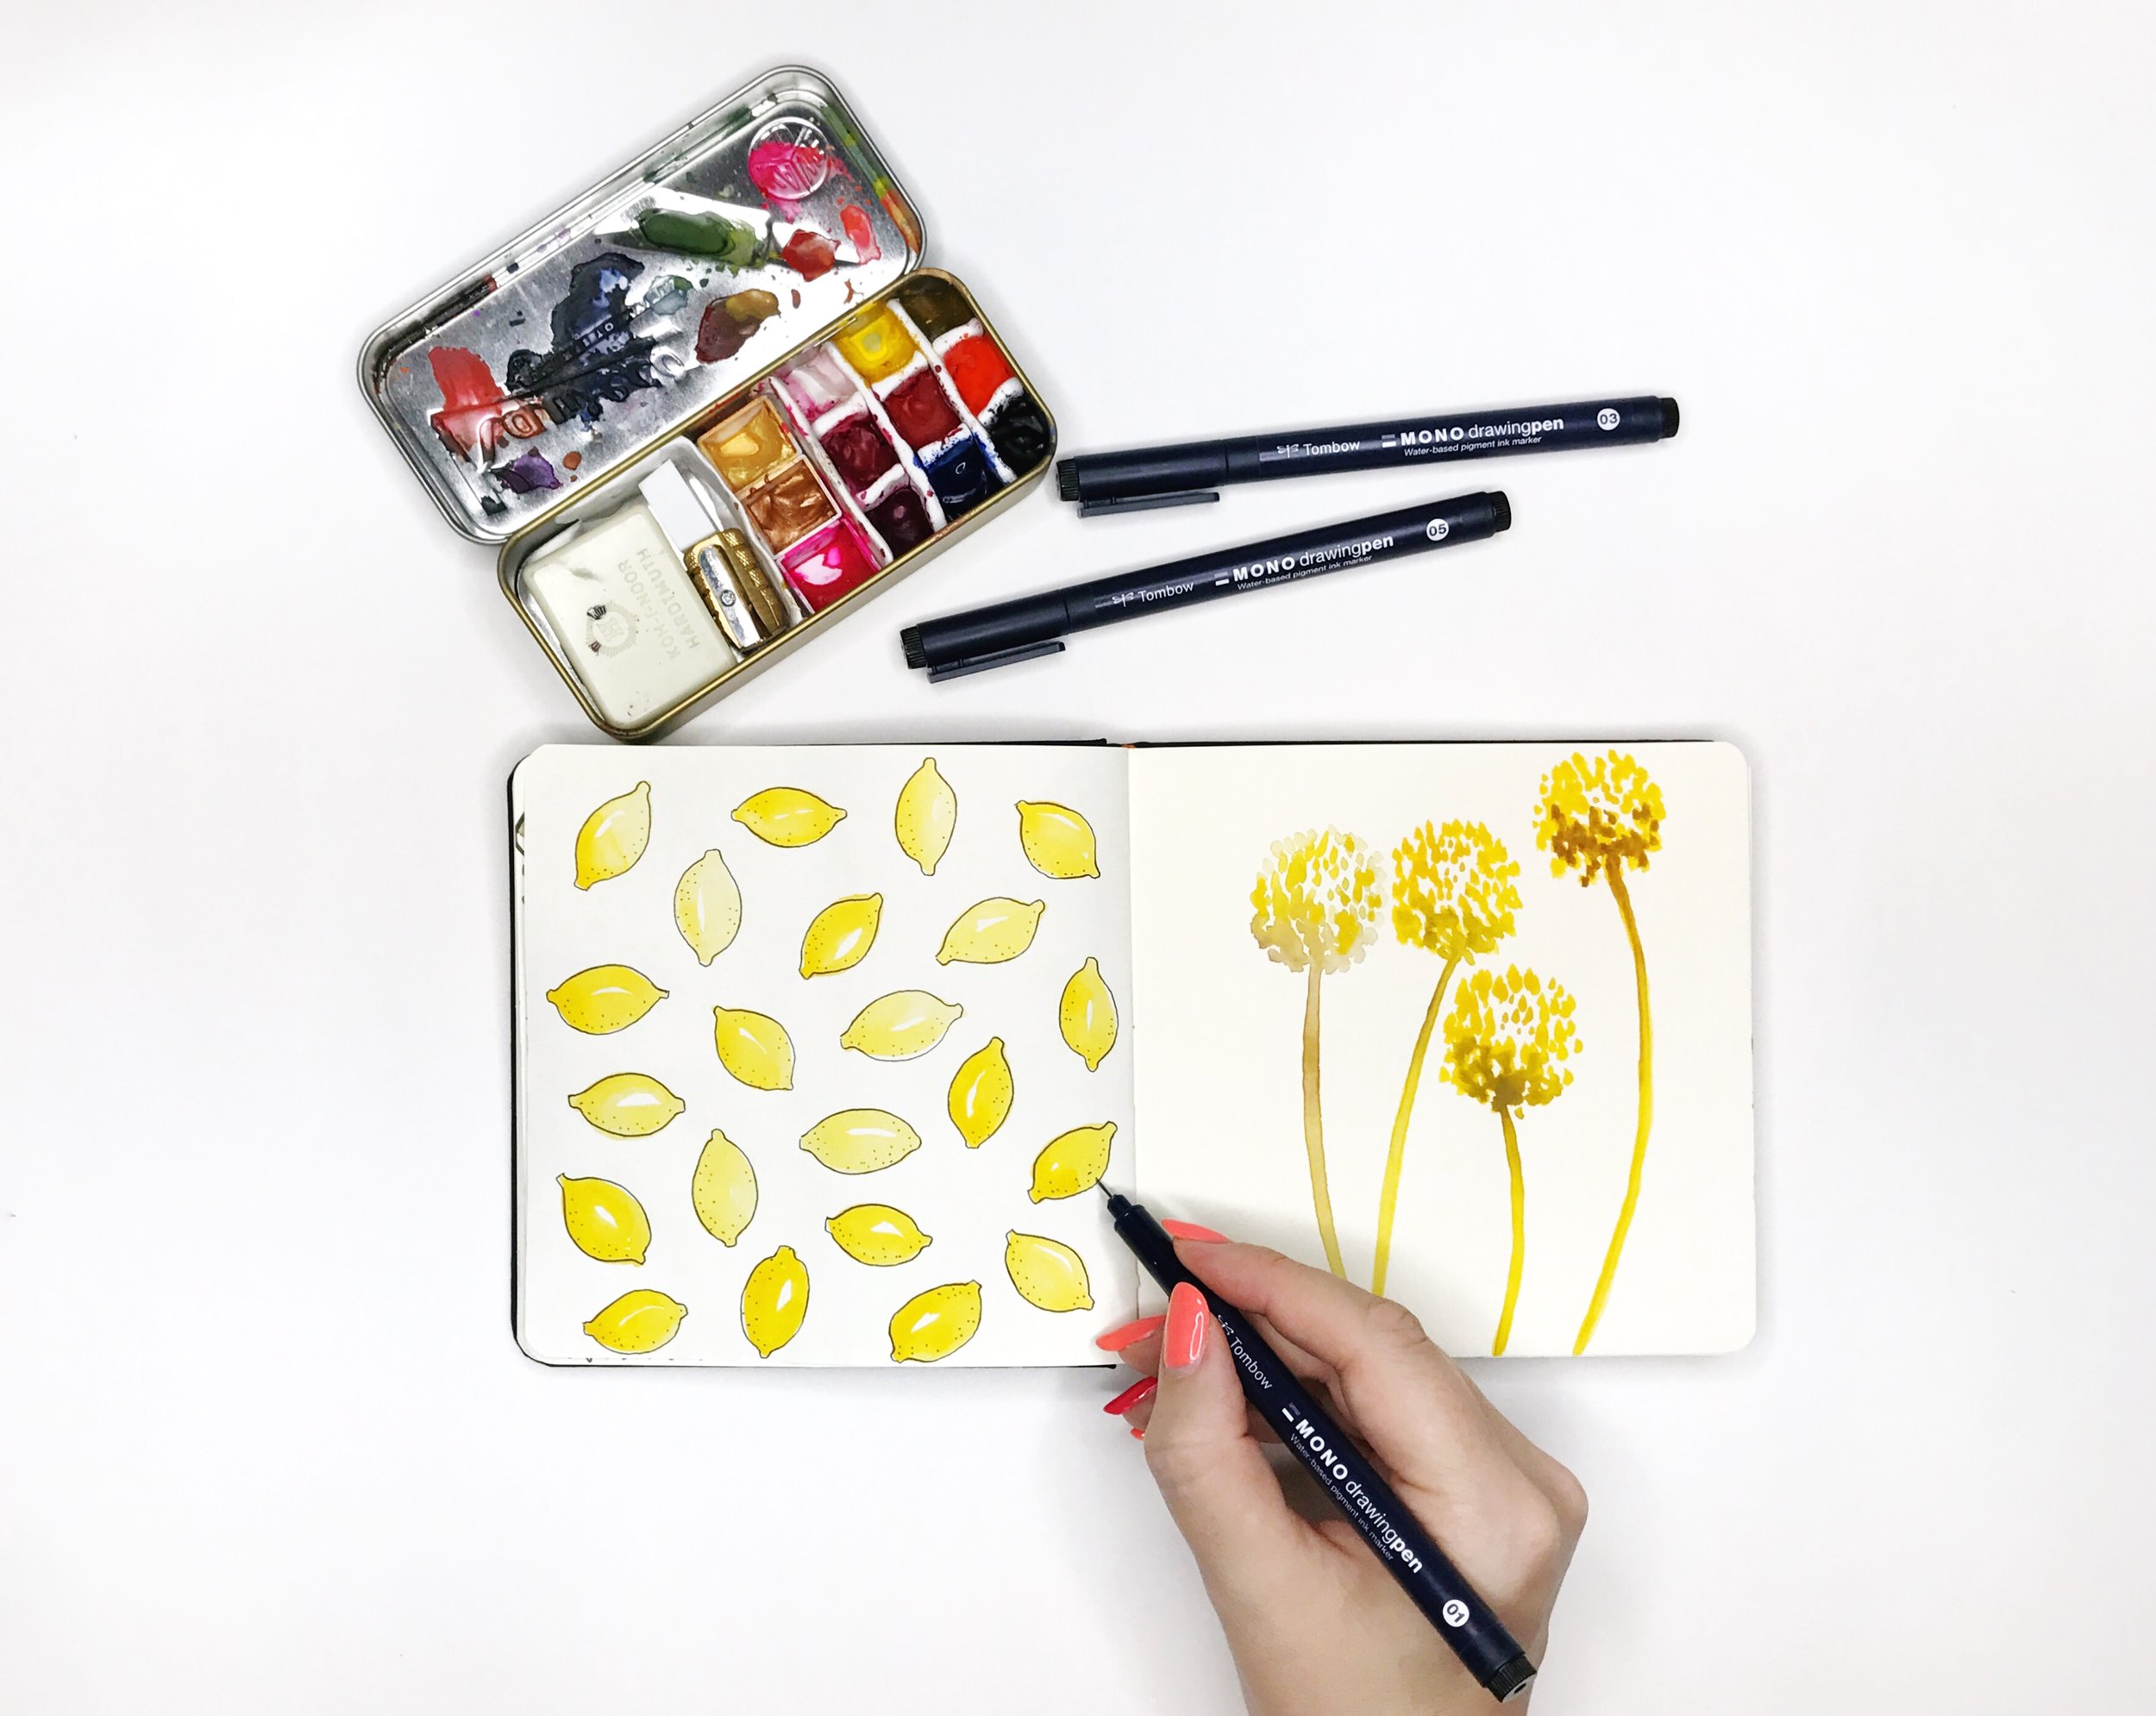
Using your Dual Brush Pens draw shapes or images all over your watercolor paper. They don't have to be fancy, just anything that you can draw over and over will work. Try polka dots, hearts, simple flowers, leaves, lines, etc.
If you'd like to have a watercolor effect, wet and blend each shape with your Water Brush. I used the Medium size for mine. Let the ink dry completely before moving on to the next step.
Step 2: Add Details
The next step is to add some more details to fill in some of the white spaces. I've used leaves, but for example, if you chose hearts you can add smaller or overlapping hearts to fill some of the empty spaces.
After I drew my leaves with Dual Brush Pens I used the Water Brush again to blend the ink. Then once it was completely dry, I used a white gel pen to put a few lines on some of the darker leaves.
Step 3: Cut Out Your Bookmarks
Decide how big you want your bookmarks to be and cut them out. I started with a 9x12" piece of watercolor paper and I cut it in half, and then cut each half into four equal strips.
Next, decide whether or not you want to decorate them with tassels. If you do, you'll need to punch a hole in the end and attach a tassel. You can either make your own tassels from embroidery thread or you can buy them ready-made.
I can't wait to see yours! Tag @BrownPaperBunny on social media to show me!
If you're looking for more bookmark ideas check out this tutorial on Rainbow Watercolor Bookmarks.
----------
Please note: This blog post contains affiliate links, which help pay for the upkeep of this site. That being said, I will never, ever promote anything I am not 100% in love with.
